A Walkthrough of the New Matchmaker
- by Thomas C. McKinney
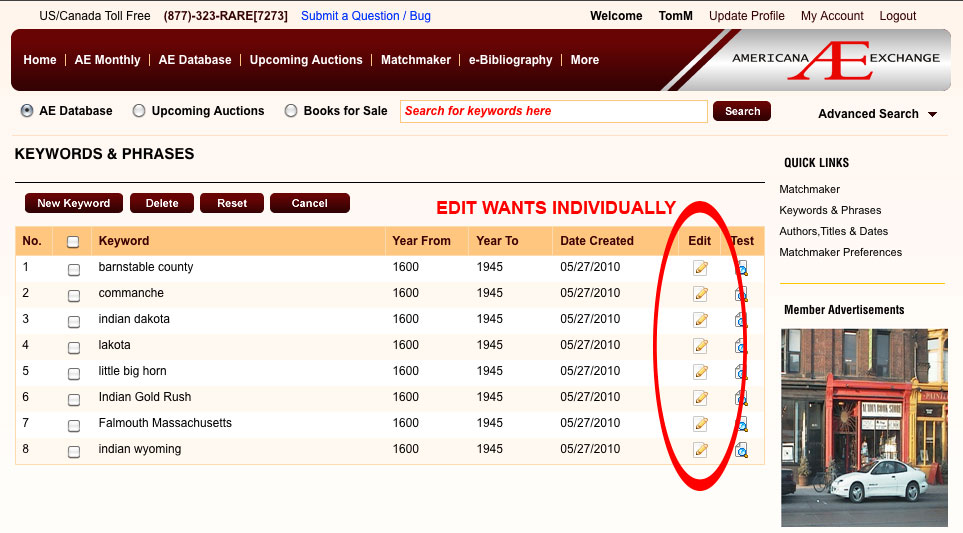
Note the individual buttons for editing wants
Another common appearance on the new site is the section for Quick Links. They always appear on the right side of the page, directly below the Universal Search’s Advanced Search toggle button. This is a good place to check for important links no matter what service of AE you’re using.
In Matchmaker’s Quick Links, we have links for:
1. Matchmaker. This takes you back to the main Matchmaker page.
2. Keywords & Phrases. Click this to view, add, edit and delete wants based off keywords and phrases.
3. Authors, Titles & Dates. Click this to view, add, edit and delete wants based off authors, titles and dates.
4. Matchmaker Preferences. Click this to set your advanced Matchmaker preferences including the length of time a match should be held, which fields to match, and whether or not you receive a notification email.
On the main Matchmaker page, the listing sites’ On and Off buttons are now permanently displayed there. Do remember to hit the Save button after making changes to which Sources are being matched against!
Below the On/Off buttons are two tables for Matchmaker Matches: Keyword Matches are on the left and Title Matches on the right. These function just like the ones on the old site: click the name of a listing site to view those specific matches; individual items open in their own pop-up windows.
Once you’ve gotten your wants setup on Matchmaker, the majority of the time viewing results can be spent directly in your my Account page. Rather than going to the main Matchmaker page and scrolling down to view your matches at the bottom of the page, My Account, which is accessible from the top right corner of every page, can also help. The tables you’ll find in My Account are identical to those on the Matchmaker page, and they function identically as well.